For in-person Crowdmark booklet assessments, an assessment template must be uploaded to Crowdmark for formatting. This creates booklets for printing or photocopying to distribute to students. After you upload your template, select which Crowdmark booklet workflow you would like to use:
QR coded booklets are unique, coded, numbered and created individually for each student by Crowdmark.
Non-QR coded booklets are based on a single photocopiable booklet formatted in Crowdmark.
To learn more about the differences between the two types of booklets, see details here.
When creating a template, you may also wish to consider your Matching options, as what kind of matching you’re using will affect how your cover page is formatted. See more details here.
The pages can be any standard size paper in portrait orientation — including 8.5″ x 11″, legal and A4. If you’re using QR coded booklets, Crowdmark will add a unique QR code to each page and generate a printable PDF file containing a booklet for each student. If you choose Non-QR coded booklets, Crowdmark will generate one photocopiable booklet with the assessment information on each page along with any additional formatting options you have added.
Download an example template
These documents are formatted so you can simply replace the content with your own. The formatting will work with both booklet types. Don’t forget to save to PDF before uploading:
This example template is in PDF format and can be uploaded directly to Crowdmark for a test run:
Template specifications
To be compatible with Crowdmark booklets, your template must meet the following criteria:
-
PDF format. The template must be exported to PDF.
-
A cover page. The first page is where a student will write their name and other personal data. You may include instructions or other information, but note that you will not be able to grade this page. To retain anonymity, it’s important that this is the only page containing identifiable student information. If you’d like to use Auto-matching, see the instructions below for required spacing.
-
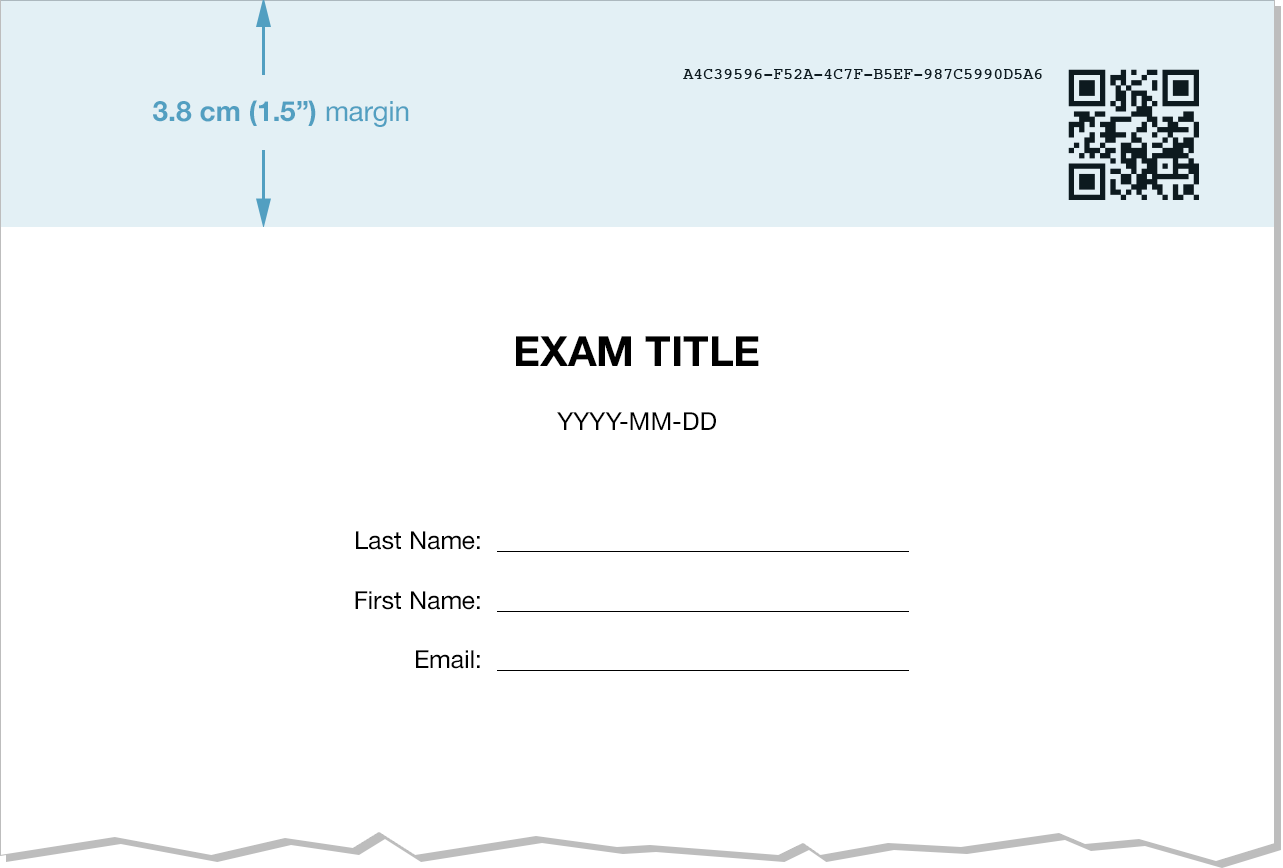
For manual matching or Pre-matched booklets, leave a white space region on the top of each page for QR code or assessment info placement. A simple way to proceed: leave at least 3.8 cm (1.5 inches) blank at the top of each page.
- QR coded booklets only: pages must be the same size and orientation. Crowdmark determines QR code placement based on the center coordinates of the first page. If the following pages are a different size or orientation (landscape or portrait), the QR codes and header information may be superimposed over your assessment content.
Formatting your template for automated matching
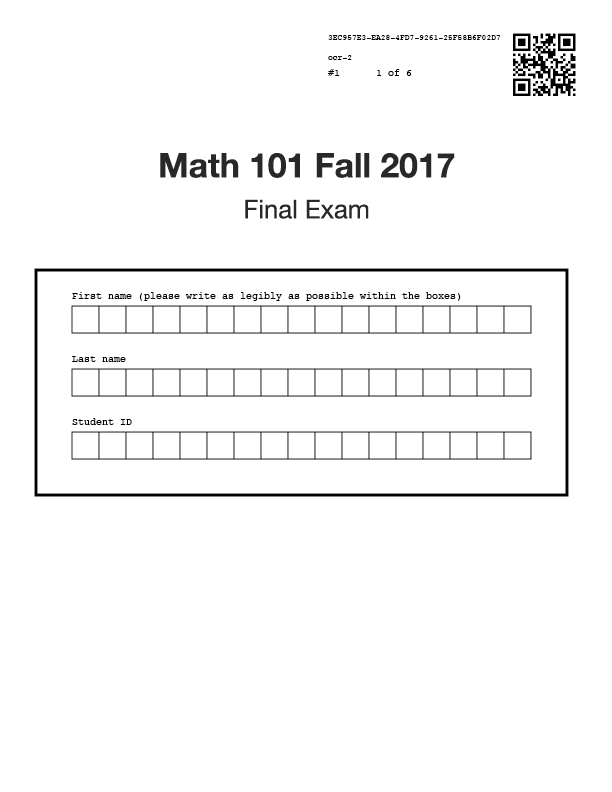
If you would like to use Crowdmark’s automated matching feature, you will need to add extra space to the layout of your cover page. Crowdmark will add a region for students to write first name, last name, and student ID number. Please leave a blank space between 9 cm (3.5 inches) and 18 cm (7 inches) down the cover page for this region.
The fields will be matched with student data after you upload student work. To read more about this process, see our document on using automated matching.
See examples below of the Crowdmark-generated QR code and automated matching region (shown in blue). Click the images to enlarge.

Formatting your template for multiple choice
If you would like to include some multiple choice questions in your assessment, see Using multiple choice questions. You may include up to 200 questions with responses A–E in your template. Crowdmark will automatically add bubble sheets to the end of your template file after you enable multiple choice.
Including scratch pages in your template
QR coded booklets: Pages must contain QR codes to be graded in Crowdmark. If students write on pages with no QR codes, they will not be uploaded to Crowdmark and will not be present for grading. If you would like to grade your students’ scratch pages, or have them available to view while grading, include extra blank pages in your template. These QR-coded pages will scan and upload to Crowdmark along with the rest of the student’s work.
Non-QR coded booklets: Extra pages can be added after the assessment is formatted and written. They can be scanned and uploaded with the booklets, or they can be appended individually by uploading to a specific booklet in the Review scans page.
More details: