When you use Crowdmark booklets for an assessment, you can generate pre-matched assessments with student identifying info already printed on them. Choosing this step in the setup process adds security around which student is writing the assessment, as well as saving time after the assessment is written. This function also has the advantage of near-total flexibility in cover-page content, which means it can accommodate institutional cover sheets. For more details on formatting requirements, see instructions here.
Pre-matching assessments
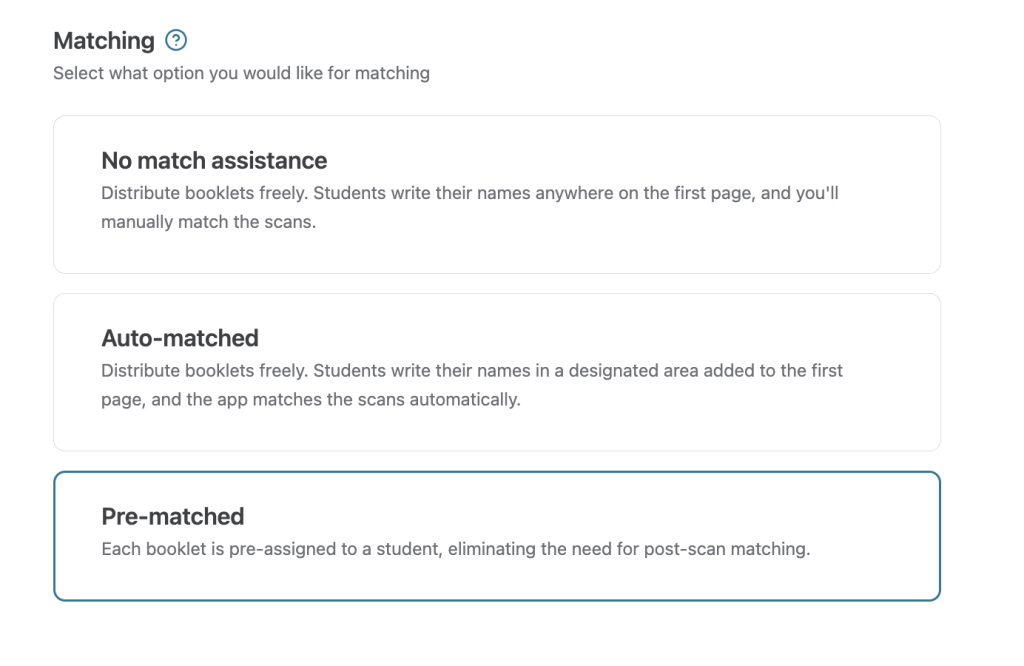
- Begin by setting up an Administered assessment, and selecting QR coded Crowdmark booklets. Once you’ve uploaded your assessment template, select Pre-matched from the list of available matching options. See more on other types of matching here.
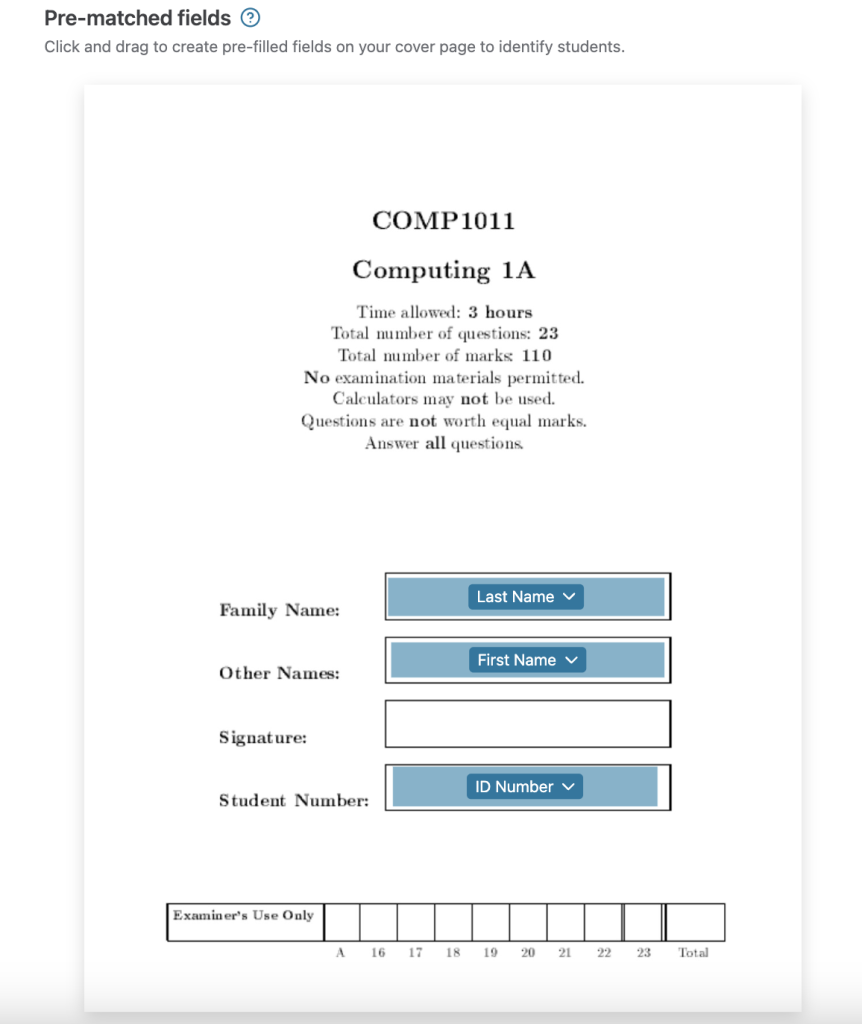
- Use your mouse to select the areas where student identifying information should be placed. Hovering over the box will allow you move it around, or resize the edges.

- Click over the field to assign which data will be populated. You can use student Name, Email address, Student ID or Section.

- Generate a preview of your booklets to see a sample of the pre-matched information. You can change field data or box size and location, and preview again. Note, once the booklets are generated, the template can no longer be adjusted.
- Select how many extra booklets you’d like to include. Extra booklets will require handwritten student identifying info, and must be matched manually after the assessment is written.
- Click Generate booklets to download the PDF of printable booklets labelled with student information.
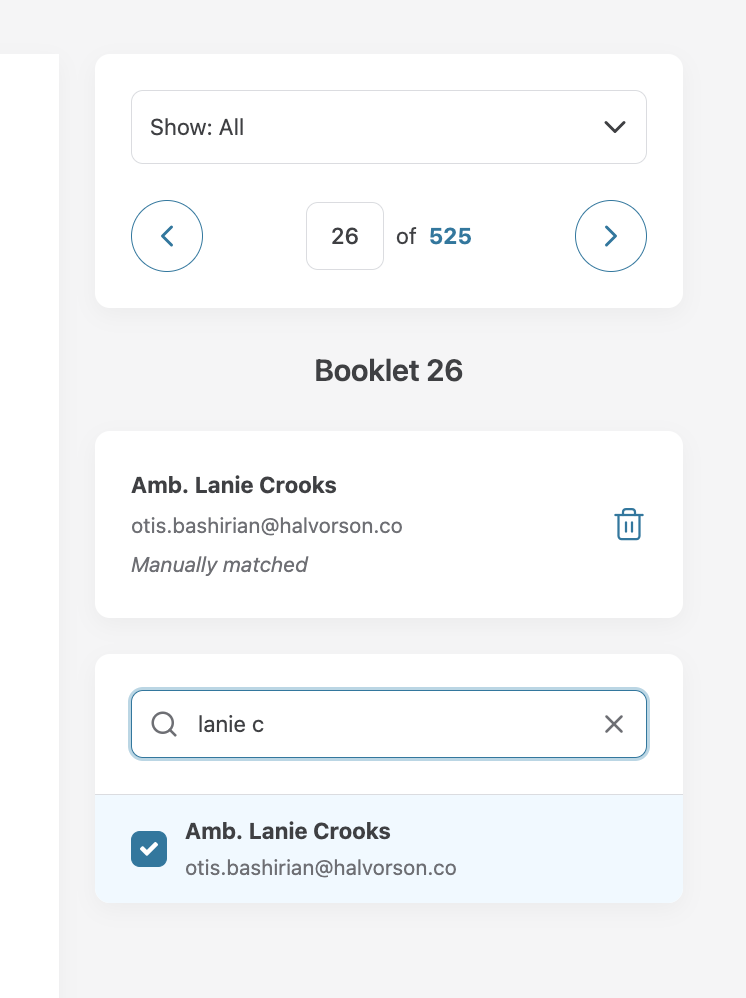
Once your assessment has been written and the booklets scanned and uploaded, you’ll be able to see the matched student’s information in the Matching interface, and the Overview grid.
Labelling blank or extra booklets
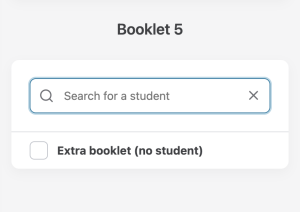
Below the matching search field you’ll see a checkbox that allows you to mark booklets as Extra. If a student has not written on their pre-matched booklet, use the checkbox to indicate it does not need to be matched. Extra booklets will be skipped over when you click Next ungraded, and will be labelled as Extra in the Overview grid.
Fixing a matching mistake
In the case that there’s been an mix-up with pre-matched booklets, set the filter to All and use the Search to find that student’s booklet by name or booklet number. Click the trash can icon to un-match that student. The page will stay on the unmatched booklet, allowing you to match another student. Changing the filter back to Unmatched will allow you to continue matching.
