Accepting an invitation to proctor
You will receive an email from the instructor or exam coordinator inviting you to proctor the exam session.
Click Accept invitation in the email.

If you do not have a Crowdmark account, you will be directed to the Sign up page on Crowdmark. After completing the sign up process, you will be directed to the session page.
If you already have a Crowdmark account, you will be prompted to sign in. After signing in, you will be directed to the session page.
You can now access Crowdmark and the session anytime by signing in to https://app.crowdmark.com/sign-in. After signing in, you can access the session again by clicking the Session ID in the My Sessions table.
The session page
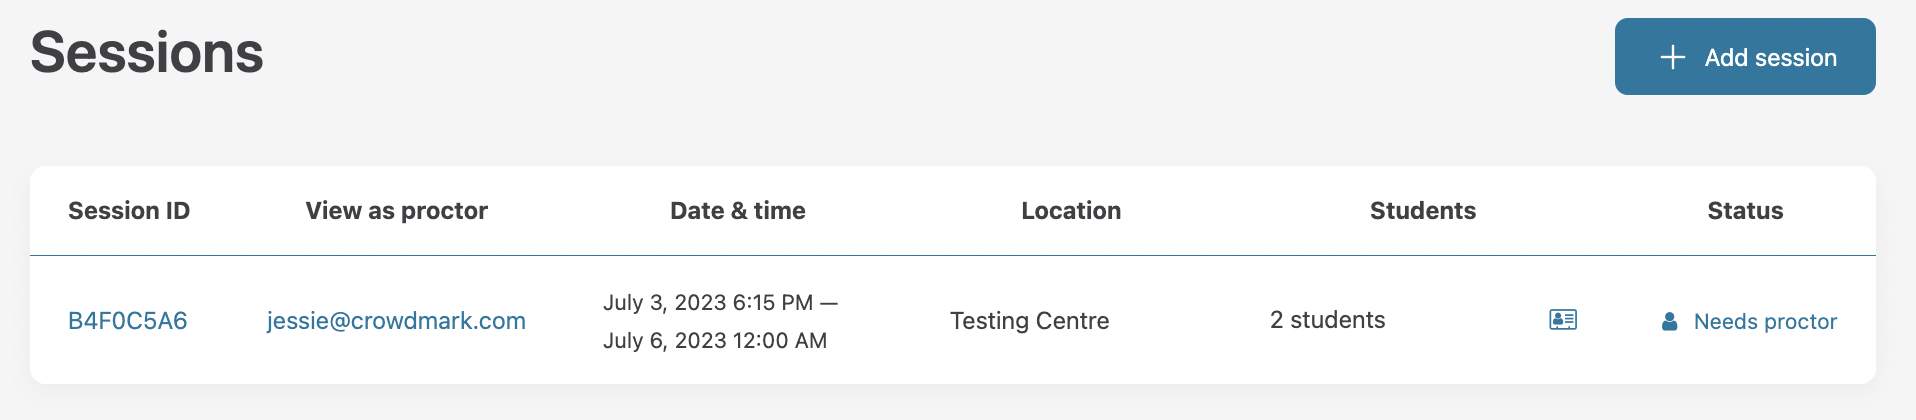
After you have signed in, you will see the session page with the following sections.
- A Welcome section containing an introduction and any notes and instructions that the instructor or coordinator has provided.
- A sidebar on the right containing:
- Session details: Date, time, location, and number of students. Click on the rolodex icon to see the list of students and their information.
- Status: Click on the status to see your past activity with timestamps.
- Contact info: For any questions you may have about the process (if available).
- Steps to administer the exam: Download and print booklets, Administer the examination, and Scan and save the uploaded booklets to your computer.
Administering the exam
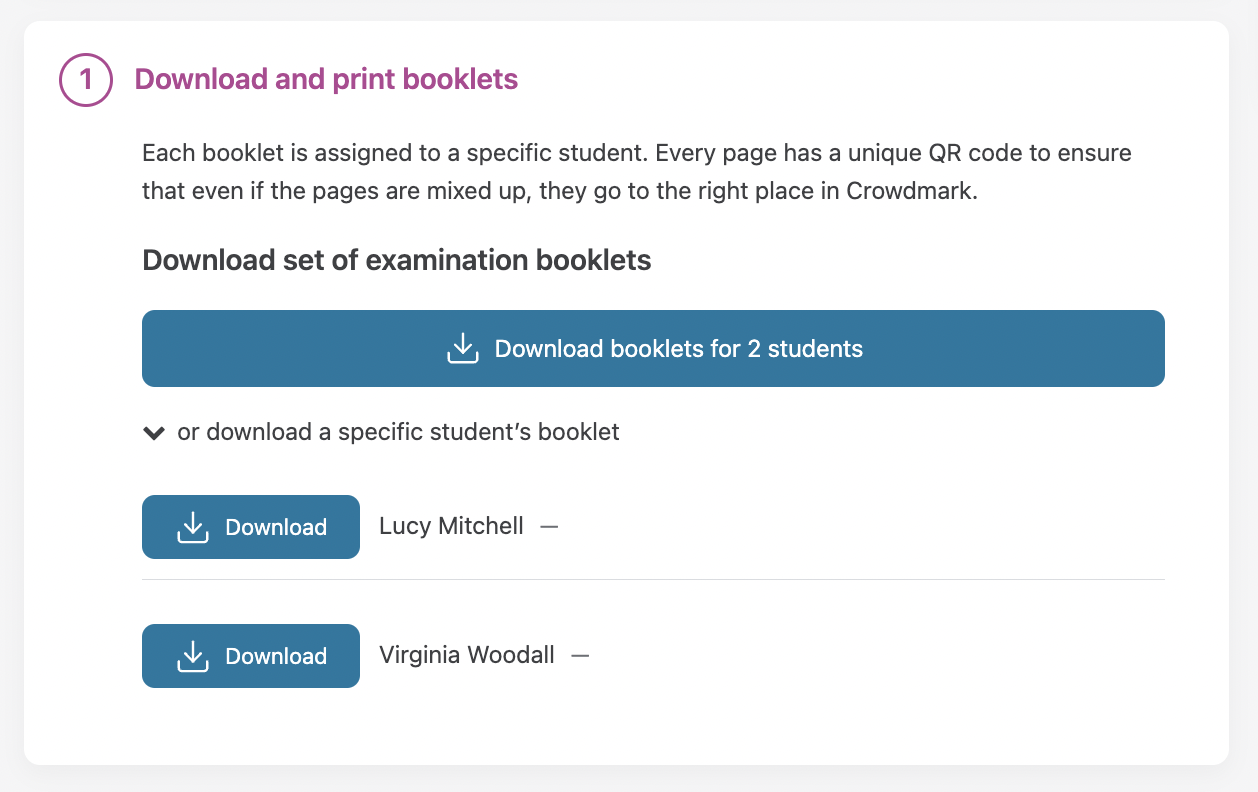
1. Download and print booklets
You can download booklets for all students at once (a single PDF file with all of the booklet pages) or download each student’s booklet separately (a single booklet per PDF file). Click the Download button to save the booklet(s) to your computer. Print the booklets before the exam session will take place.
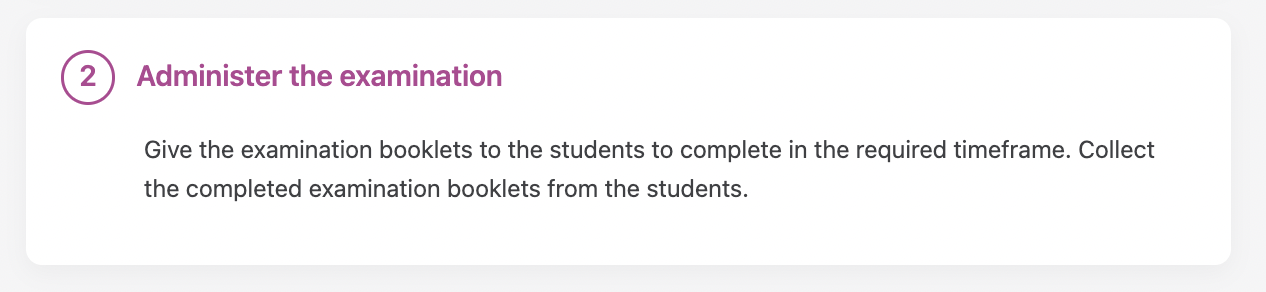
2. Administer the exam
Hand the booklets out to the students. Once the exam is over, collect the completed booklets.
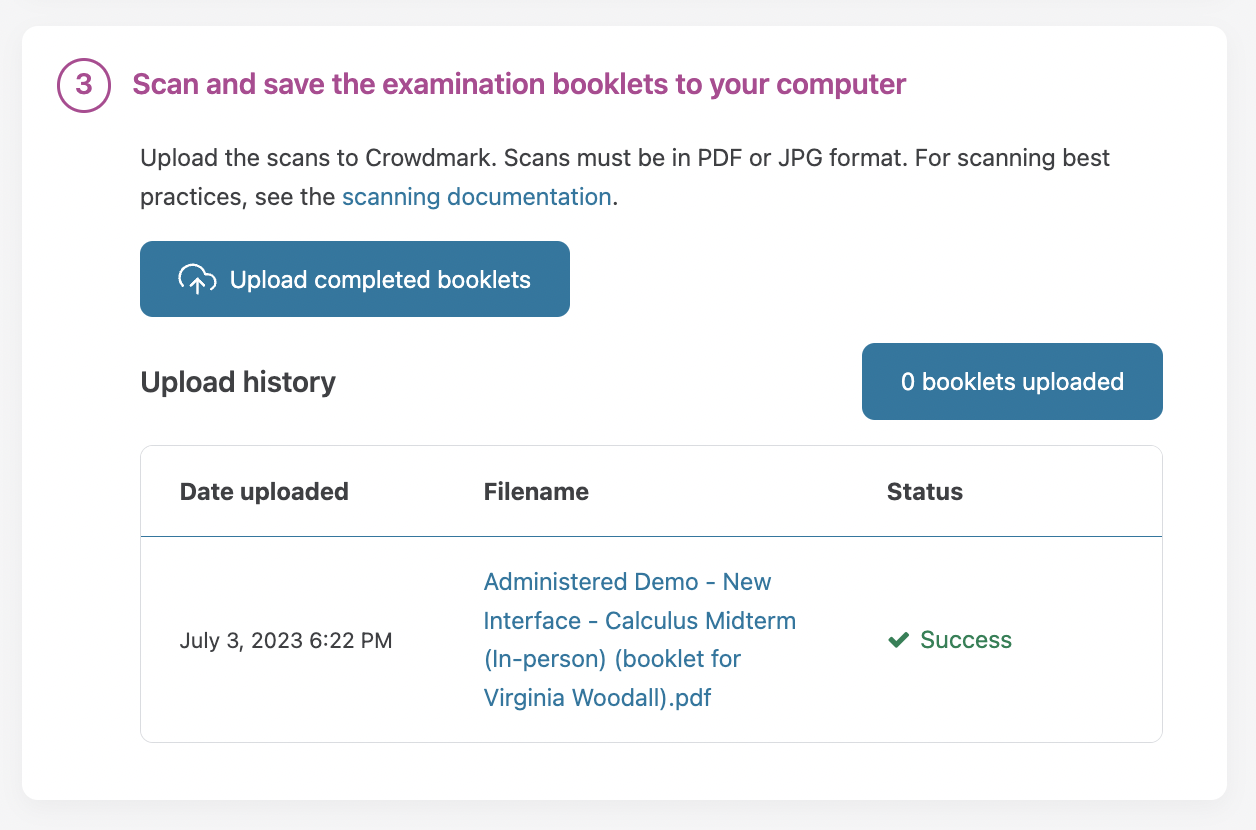
3. Scan and save the uploaded booklets to your computer.
Remove staples from the exam booklets, ensuring that the QR codes in the upper corners are not cut off. For best practices and suggested scanner settings, see Scanning assessments. Ensure that pages are scanned as PDF or JPG files.
After the pages are scanned and stored on your computer, click Upload completed booklets. Select your scanned file(s) to upload. You will see the Upload history table fill up with pages. In the upper right corner you will see the number of booklets uploaded so far. Click this number to see which pages have not yet been uploaded.
If any “Undetectable QR” errors appear, click the Fix button to manually associate the page with the QR code information (the UUID) written in the top corner of the page.
Note: The front page of each booklet with student information (without the QR code) is for your information only and does not need to be uploaded. If the page is uploaded, you will see the error “Undetectable QR” until all other pages are uploaded. The error can be ignored.
How to locate the UUID: