There are different ways to access Crowdmark via a Brightspace integration. How you access depends on the type of integration your school is using.
Adding Crowdmark to your Brightspace course
If your school has this type of integration, you’ll see the option to create a Crowdmark assessment within your course in Brightspace. Once that happens, you’ll be taken to Crowdmark to complete your assessment setup. The student roster will be synced, and the course will be created in the background as you complete the assessment.
Once you have an assessment and course in Crowdmark, you’re able to click Create assessment in Crowdmark, and the assessments you create will be connected automatically to your course in Brightspace. Students will be able to access via the Brightspace link or via their Crowdmark profiles.
Signing in / connecting an existing account
To access Crowdmark, you must sign in with your Brightspace credentials through your institution’s sign in page on Crowdmark. If you already have an account on Crowdmark that is not connected to Brightspace, this process will connect your account.
- Navigate to the Crowdmark sign in page: https://app.crowdmark.com/sign-in and choose your school from the list. If you can’t find your school, contact Crowdmark Support. Your school may not be integrated with Brightspace yet.
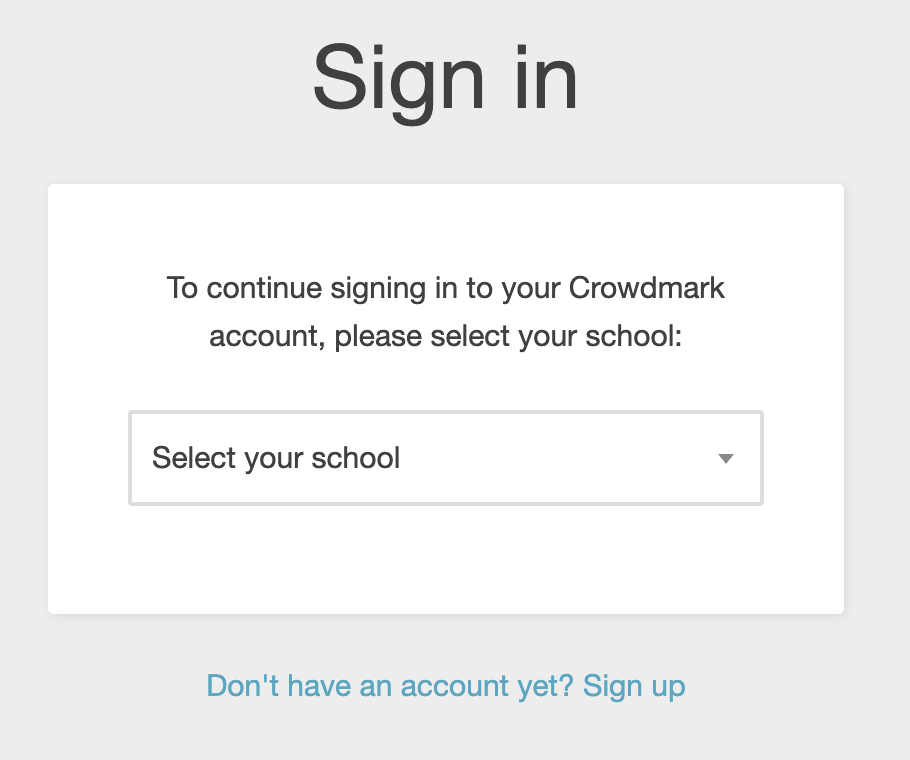
- You will see a list of sign in options for your school’s integrations. Click “Sign in with Brightspace” (or your school’s unique name for Brightspace).

- You will be redirected to your school’s authentication system. Many schools have a Central Authentication System (CAS). Enter your username and password to continue (If you are currently signed in to Brightspace you won’t be prompted to sign in).
- If this is your first time signing in to Crowdmark with Brightspace, you will need to confirm that you’d like to give Crowdmark permission to connect to your Brightspace account. Check “Do not ask me again for this application” if you’d like to skip this step next time.

- You will be redirected to a “Welcome” page on Crowdmark. Enter your email address.

Crowdmark will see if your email address is already associated with a Crowdmark account.
- If you don’t have a Crowdmark account yet, your account will be created automatically.
- If you already have a Crowdmark account, you will be prompted to type in your password for verification and to connect your existing account with Brightspace. If you can’t remember your password, you can reset it.
- You will be signed in to Crowdmark.
Course contexts
- Once you Brightspace account is connected to Crowdmark, you will be brought to the My Courses page.
- To the right of the My Courses title, you will see a logo and text similar to “Brightspace @ My School”. This dropdown menu allows you to switch between the Brightspace-connected context of Crowdmark and the “standalone” version of Crowdmark.
- If you already had a standalone account on Crowdmark before connecting to Brightspace, you can switch to the “Crowdmark” context to access your existing courses and assessments. Courses and assessments created in the standalone context cannot be connected to Brightspace.