Crowdmark’s new grading interface has updated the look and feel of the traditional canvas to provide more space, easier access to tools and room for exciting upcoming features. A user with Instructor permissions can opt into the new interface beta for all users in the course by clicking into the Course settings page and turning on the toggle. You can turn it off at any time.
For more information, if you have questions or concerns, or would like to be added to this beta release, please email support@crowdmark.com. Make sure to indicate which version of the grading interface you are working with. We look forward to hearing your feedback!
Grading tools differ based on whether you’re grading an Image/PDF response, or a Text response. In either case, to enter a score manually, click the grid icon on the sidebar box to open the keypad. The score will save automatically as you type. Before scoring, the box will appear grey. A valid score will show as green, and an invalid score will show yellow.
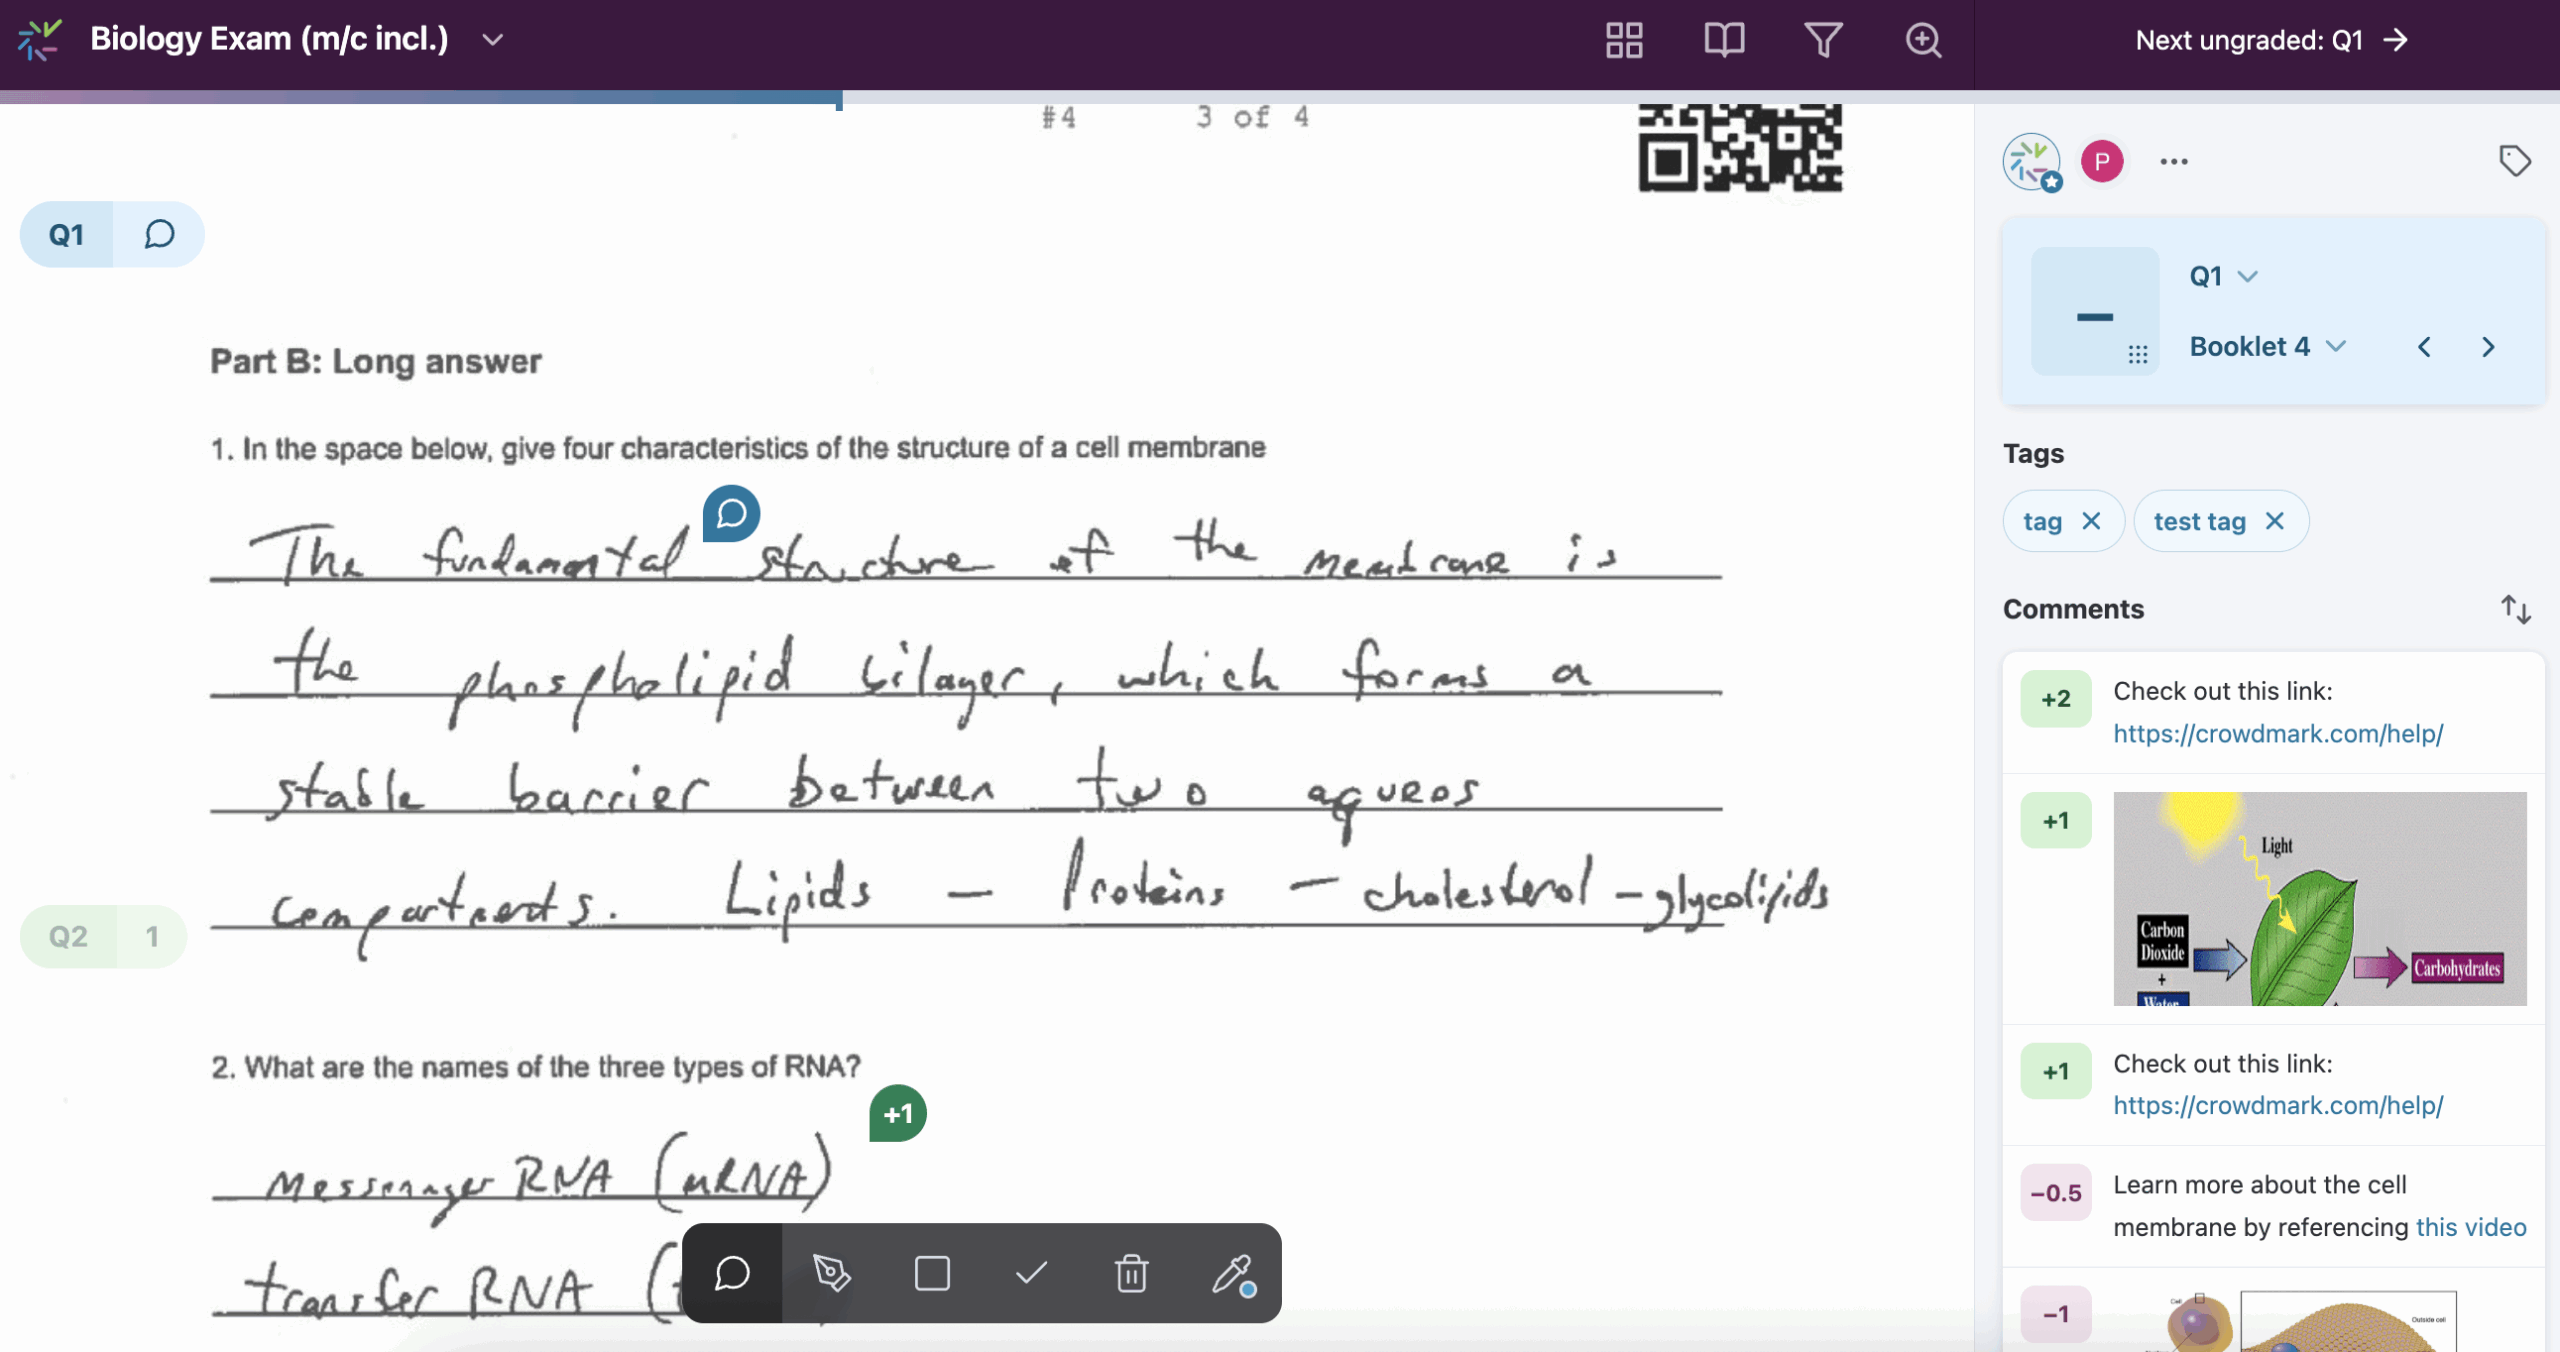
Comments, annotations and symbols can be added through the grading toolbar in the bottom center of the screen.
Click anywhere on the assessment page to open up a comment field. A comment can be dragged and dropped to another location on the page. Comments are marked on the grading canvas by pins. Hovering over the pin will show the comment. To open or close the comment editor, click on the pin. Points associated with the comment will display on the pin for easy review.
Comments support Markdown for formatting and LaTeX for math and chemical equations. Positive or negative points can be attached to questions, similar to a rubric.
To learn more about these options, see Using the comment library.
Click and drag anywhere on a page to write or draw on top of student work.
Click anywhere on a page to add a stamp. Stamps may also be used to add or deduct points. Each + or – will change the score by one point. If you use + stamps, points will count up from 0. If you use – stamps, points will count down from the question total. It’s not recommended to mix the two, as the order they are placed will affect the score. If you click to expand the keypad, you’ll see an (auto) label on the score display when points are calculated based on stamps. While standard stamp colors can be customized, point stamps have fixed colors for consistency.
Click and drag to create a semi-transparent box over student work.
Click on an annotation, stamp, or box to delete it.
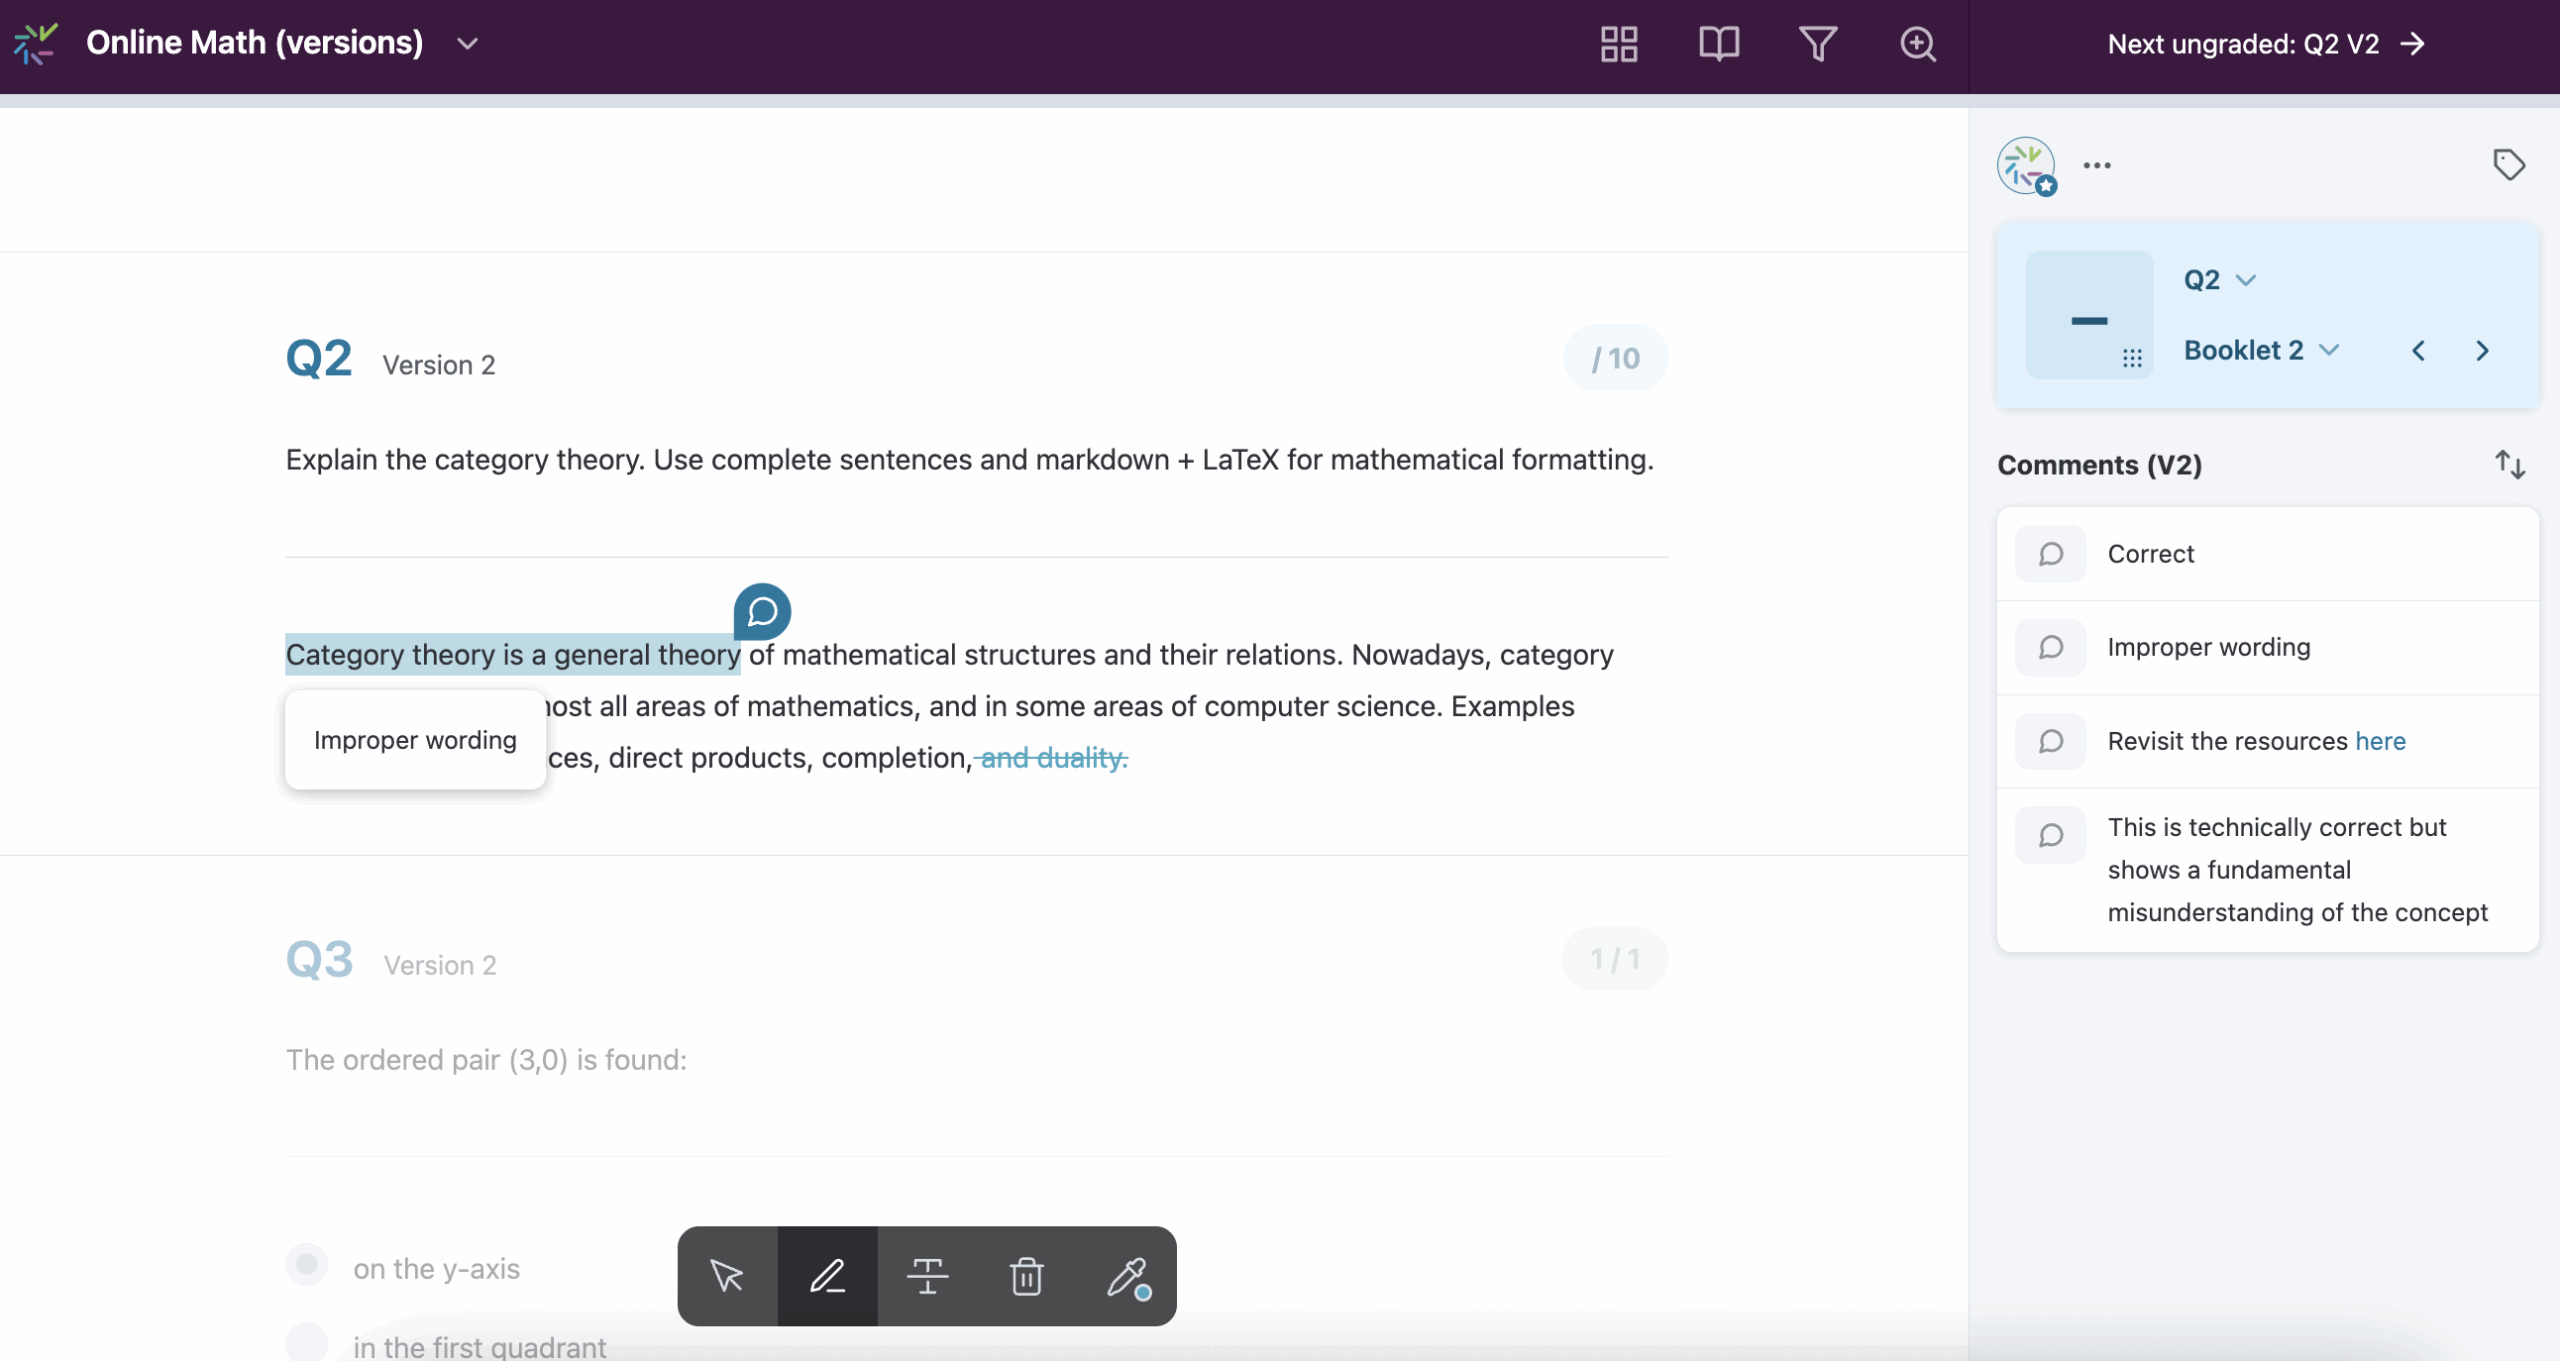
Text can be highlighted or struck-out (with optional comments attached) through the grading toolbar in the bottom center of the screen.
Allows you to select text without applying any annotations or feedback.
Click and drag to select a piece of text to comment on.
Comments support Markdown for formatting and LaTeX for math and chemical equations. Positive or negative points can be attached to questions, similar to a rubric.
To learn more about these options, see Using the comment library.
Click and drag to select text that will be struck-out. Click the + icon to attach a comment to the struck-out text.
Click on highlighted text or struck-out text to delete the annotation.
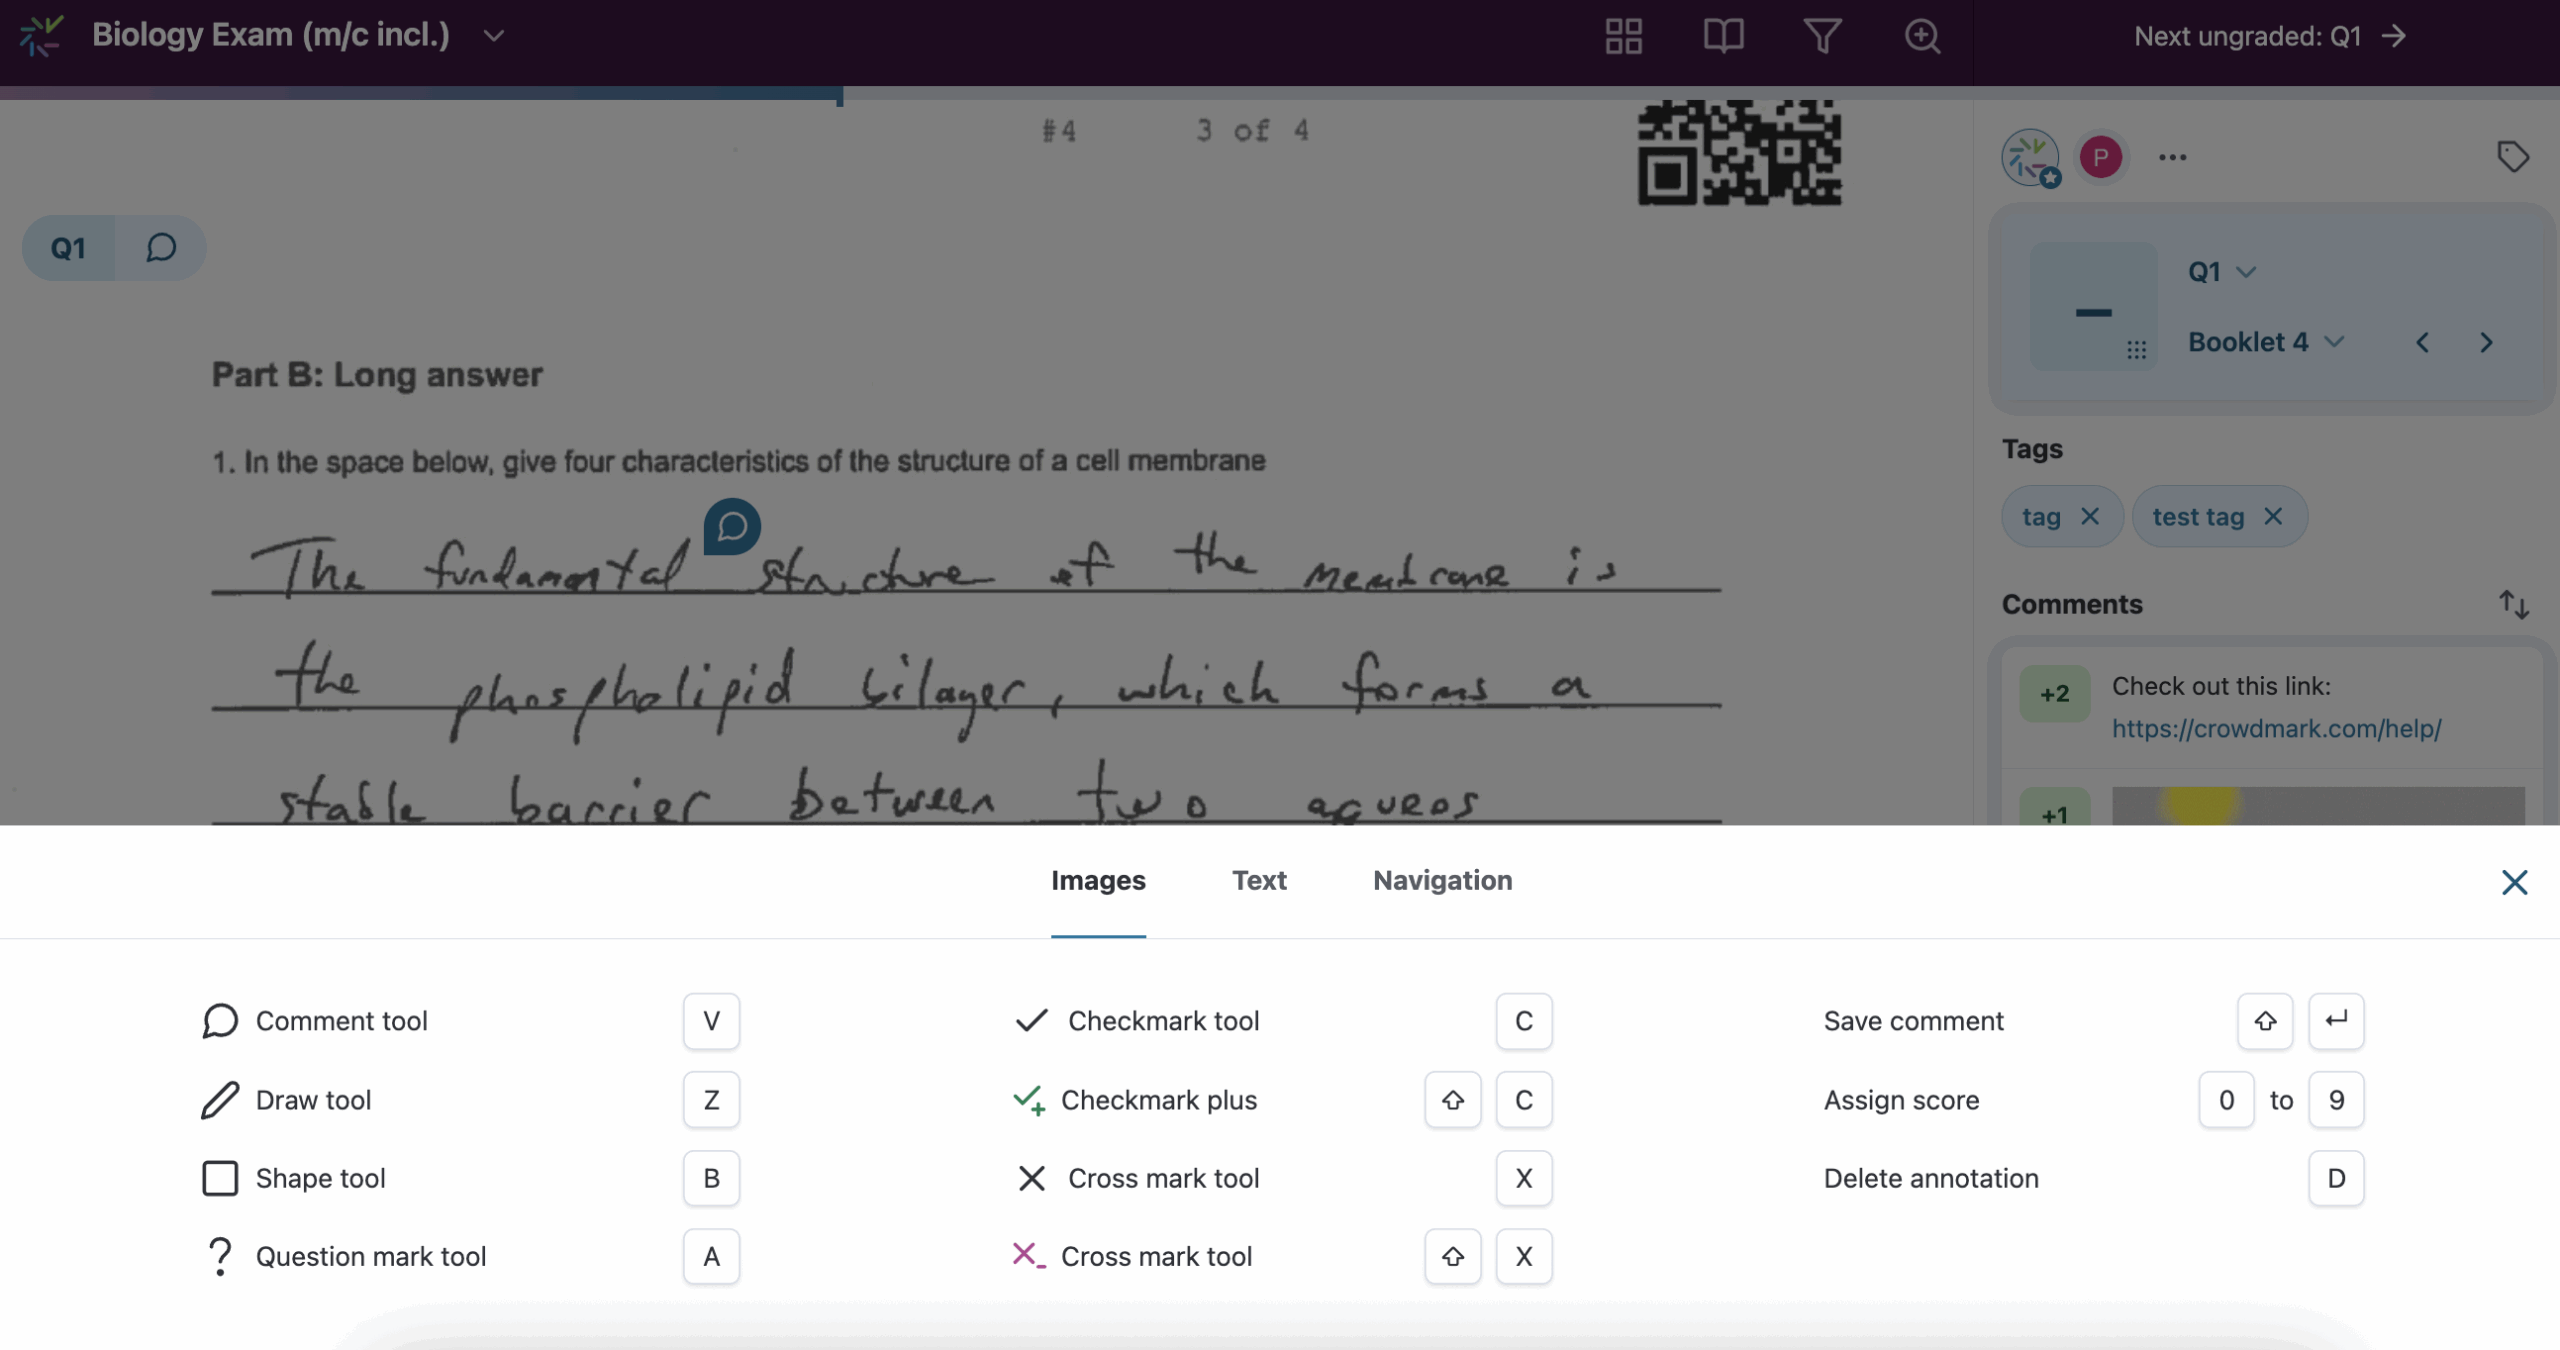
Using keyboard shortcuts can make grading more efficient. Click the assessment dropdown menu in the top left of the screen and select Shortcuts to see the list of shortcuts. Shortcuts on Image/PDF questions and Text entry questions are distinct. Click through to see the different shortcuts for Image/PDF, Text and Navigation.
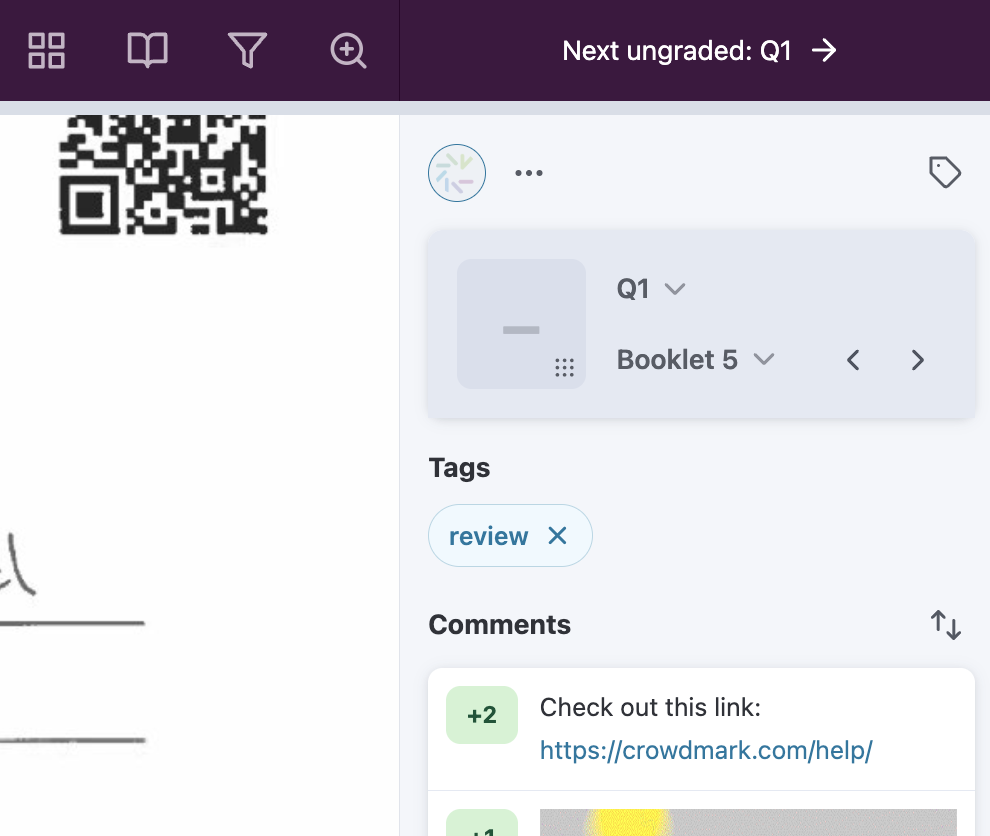
In the Grading tab, you’ll see all questions arranged in a column. Clicking into a question will take you to the first ungraded booklet. Keep in mind this may not be the first booklet in numerical sequence. The grading screen shows the current student’s pages arranged vertically. You can scroll to see all of the student’s responses, and zoom in on grading canvas using the dropdown in the top bar. On the right is the grading sidebar, where you can see the booklet number and question you are currently grading.
Enter+Enter on your keyboard as a shortcut. Please note that “Next ungraded” won’t always navigate to the next student in sequence, especially if others are grading. It is designed to skip booklets that other graders are looking at to avoid collisions.l or shift + → to go to the next student, and h or shift + ← to go the previous student. You can also click the Booklet # title to go to a specific booklet.j or shift + ↓ to go to the next question, and k or shift + ↑ to go to the previous question. You can also go back to the assessment’s Dashboard and select a different question.To navigate out of the grading canvas, use the top left hand assessment dropdown menu to select where you’d like to go.
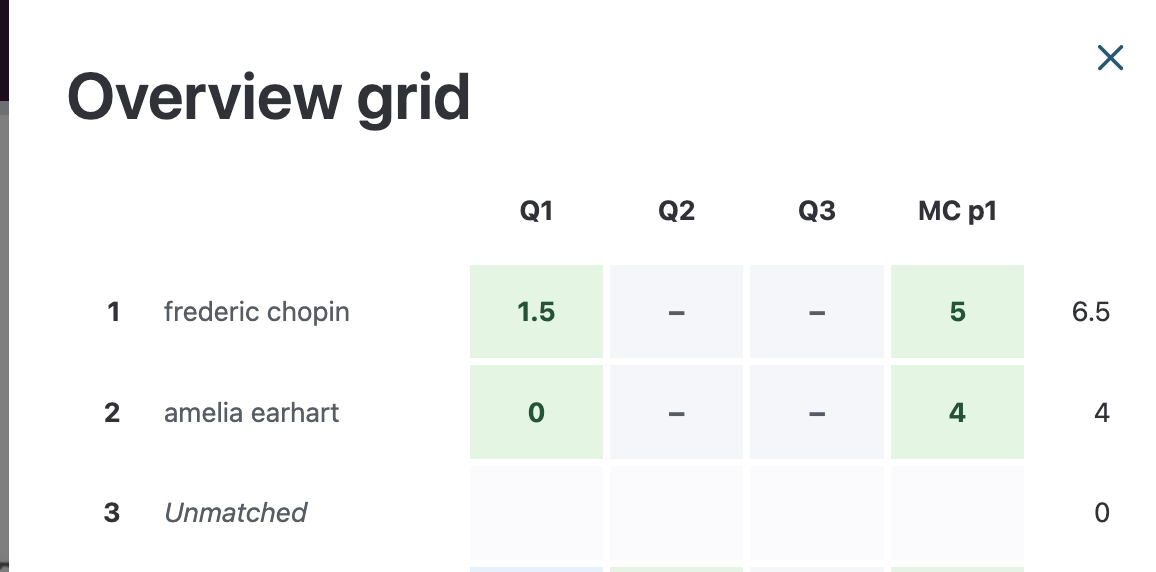
You can see an overview of grading by clicking the Overview grid button on the Grading page, or by clicking the four squares icon in the top right toolbar on the grading canvas. Clicking on a grid tile will take you directly to that student’s response.
The Overview grid is not sortable, and student booklets appear in no particular order. This means student identities will remain anonymous for those with Grader permissions.
If a page of student work is uploaded in the wrong orientation, you can use the arrow buttons in the top right of the page to rotate it.