After your assessments are uploaded, you must match their cover pages to students. In Crowdmark, this can be done anytime after uploading student work: before, during, or after grading. A cover page must be uploaded in order to match a student to a booklet.
Crowdmark offers an automated matching option that uses Optical Character Recognition (OCR) to scan your students’ cover pages and match them with existing student information. For more info on this process, see our document on using automated matching.
Crowdmark also offers Exam Matcher, an app which enables you to match students while taking attendance at the beginning of an exam. Read more about Exam Matcher.
Matching assessments to students
- There are two ways to navigate when beginning the matching process: you can select Match booklets from the side bar menu, or click the tile on the Assessment setup page.
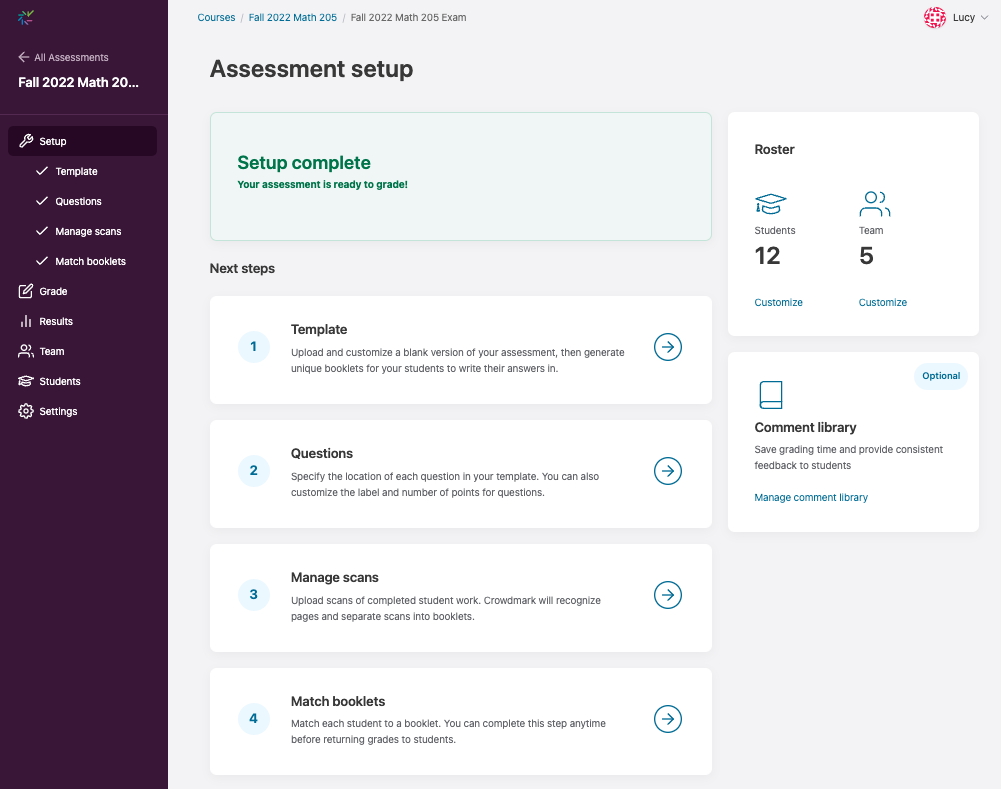
- On this page you will see an overview of the matching progress including the percentage of booklets automatically matched, manually matched and unmatched.

- If you’ve opted to use automated matching, the process will begin in the background, or you can click Run automated matching to restart the OCR matching process. Depending on your class size, this may take a few minutes.
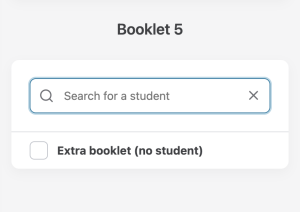
- If you’re not using automated matching, or if you have some students who could not be matched by OCR, select manually match booklets. A cover page and search field will appear. Locate the student’s information on the cover page and begin typing it into the search field. The list of students will be filtered as you type.

- Once you’ve found the student, click on their email address to match them. The page will automatically move to the next unmatched booklet. To stop the page from moving foward, you can turn off the Auto-advance to next booklet toggle. You may also use the Next unmatched button to skip a booklet or move to the next unmatched booklet manually. Change the filter to All to search for a specific booklet number, return to the previous page or move to the next booklet sequentially. Changing the filter back to Unmatched will allow you to continue matching in sequence. Repeat until all cover pages are matched.
- There are two ways to navigate when beginning the matching process: you can select Match booklets from the side bar menu, or click the tile on the Assessment setup page.
Matching labels
Each match will be labelled with the student’s name and email address. You’ll also be able to see whether the page was matched automatically, manually, or using Exam Matcher. If the page was matched using Exam Matcher, you’ll be able to see the room number and proctor information. You can filter by how a page was matched using the dropdown menu.
Labelling blank or extra booklets
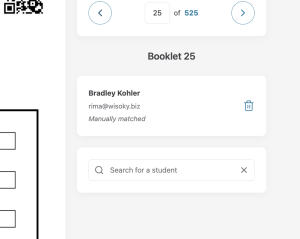
Below the matching search field you’ll see a checkbox that allows you to mark booklets as Extra. Use the checkbox to indicate if an exam booklet does not need to be matched. Extra booklets will be skipped over when you click Next ungraded, and will be labelled as Extra in the Overview grid.
Fixing a matching mistake
If a student has been incorrectly matched, set the filter to All and use the Search to find that student’s booklet by name or booklet number. Click the trash can icon to un-match that student. The page will stay on the unmatched booklet, allowing you to match another student. Changing the filter back to Unmatched will allow you to continue matching.
Keyboard shortcuts
You can save time by using keyboard shortcuts. While matching, a list of shortcuts can be found by clicking the Keyboard shortcuts link below the search bar.

Matching multiple students to an assessment
Some assessments involve student collaboration: two stage exams, lab reports, and group projects are some examples.
It is possible to match any number of students to a cover page by turning off the Auto-advance to next booklet toggle. This will prevent the page from automatically switching after you’ve matched a student. Once you’ve matched all of the students to the page, turn the toggle back on, or click Next unmatched to advance to the next booklet.
Each student matched to an assessment will receive their own copy of the graded assessment once grades are returned.